
Clinical guide
Guide to IPR
A comprehensive provider reference to interproximal reduction (IPR), covering planning, consent, assessment, enamel protection, technique, measurement, patient communication and case confidence from the first review through final polishing.

Illustrative
Provider reference
Keep the source PDF open for chairside review while using this page as the structured web reference.
What is IPR?
Interproximal reduction is a simple, safe and successful method to create space for orthodontic tooth movement. It is used to relieve crowding and create alignment space without extractions during orthodontic treatment.
Research supports the use of interproximal reduction by showing no increased decay on the altered surfaces, greater stability following treatment, and no increase in sensitivity when the amount of enamel removed is kept within reasonable limits.
Dr Greg Jorgensen, Orthodontist
Treatment planning
- The treatment summary indicates where IPR is required and where attachments need placing. Note the stage at which IPR/attachments are required.
- Complete the patient’s dental and medical history prior to treatment.
- Use the Smile Summary (and the prior to/following video) for each patient to identify the contact areas/sites that require IPR.
- Radiographs may be required to determine the thickness of enamel in the involved teeth.
- Assess for contraindications.
- A customisable informed consent is provided at onboarding.
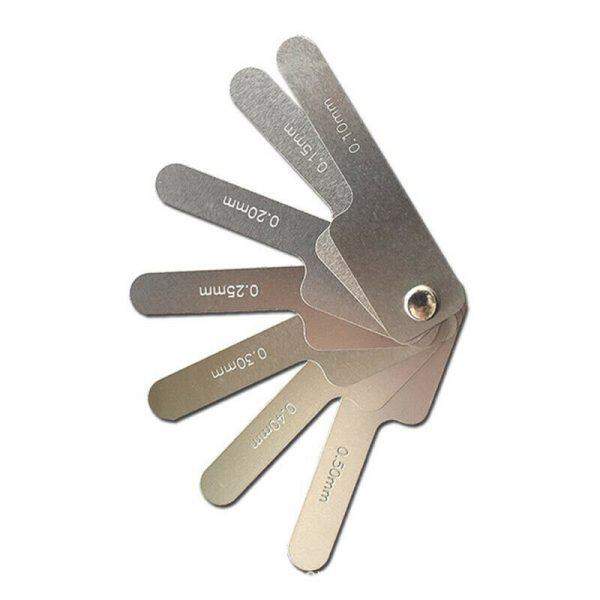
Measure throughout
Use the Smile Summary and a gauge to keep the planned reduction precise prior to, during and following the procedure.
Patient explanation and consent
- Explain the procedure in detail, following ethical guidelines.
- Ensure the patient understands all indications and contraindications.
- Obtain both verbal and written consent prior to treatment.
Assessment: indications and contraindications
Indications (candidate)
- Crowding of the mandibular or maxillary incisors
- Black triangles in the anterior teeth
- Tooth-size discrepancy
- Reshaping of teeth to increase stability
- Recontouring of teeth
- Traumatic occlusion
Contraindications (non-candidate)
- Hypersensitivity
- Enamel hypoplasia
- Required reduction exceeds the recommended limit per arch
- Excessive crowding in the absence of extraction
- Rotated teeth with no proper access to the contact area
- Poor oral hygiene
- Very rectangular teeth
Hard and soft tissue considerations
- Preserve a symmetrical midline.
- Excessive reduction could result in peg laterals.
- IPR should result in a contact point aligned with the vertex of the papilla.
- Soft tissue must be protected.
- Avoid creating wide interproximal spaces, as they can compromise periodontal status.
- Enamel is generally thicker on the distal surface than the mesial.
Risk management
Enamel ledging
Formed when the tooth surface is gouged during IPR; more likely with mechanical instrumentation than manual. Remove enamel along the axis of the tooth, not perpendicular or vertical, to avoid ledging.
Black triangles
Formed when IPR is performed where there is minimal space between the proximal surface point and the upper margin of the bone crest. A distance of ~4.5-5 mm is recommended.
Poor contouring
Avoid leaving teeth square or sharp-edged; round off all sharp edges and contour for a natural, aesthetic result.
Step-by-step technique
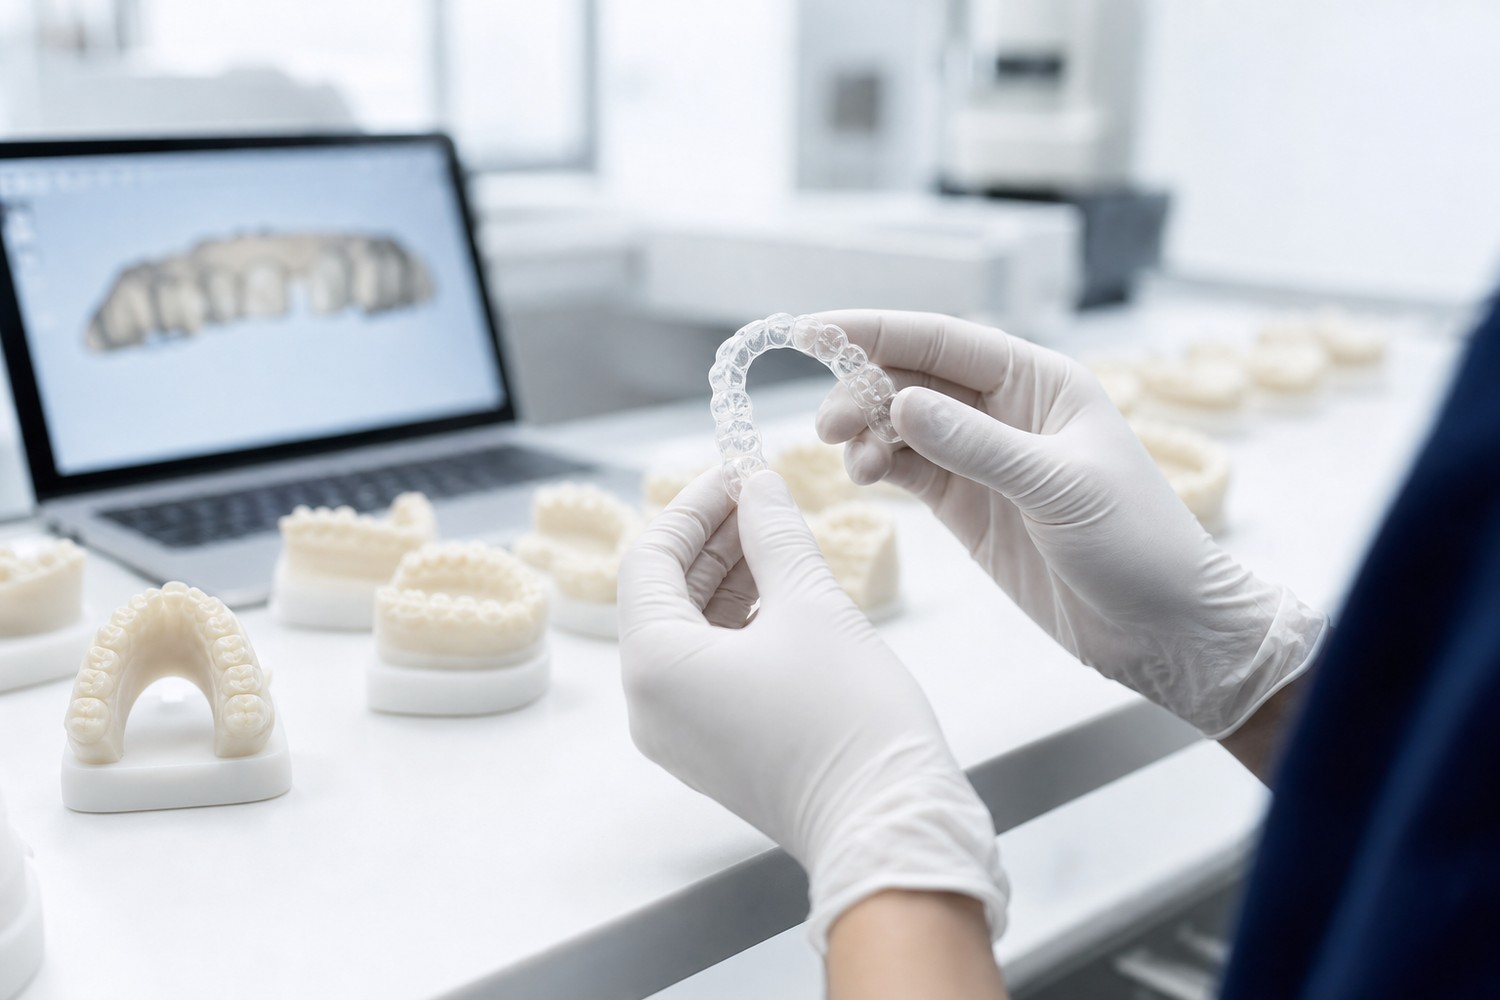
Protect and prepare
Use PPE, sterilised instruments, retractors and soft-tissue protection prior to opening the contact area.
1. PPE and sterilised instruments
PPE and sterilised instruments in place to minimise harm to practitioner and patient.
2. Use a retractor
Use a retractor for better visibility and to reduce risk of harm to the lips.
3. Identify the site
Identify the site; apply topical anaesthetic if required; protect soft tissue with wedges. A separating elastic can open the contact area for easier access.
4. Open the contact
Open the contact area first using a fine diamond-coated strip, then use the desired material to reach the set goal.
5. Use a gauge
Use a gauge to keep dimensions accurate: prior to, during and following the procedure.
6. Polish
Polish once the dimension is achieved (polishing strips with a white stone bur to contour any sharp edges).
7. Apply fluoride
Apply a fluoride treatment to remineralise the enamel (e.g. tooth mousse, enamel varnish, fluoridated toothpaste).
IPR summary
1. IPR
Always protect soft tissue (lips, cheeks, gums) with retractors or cotton gauze; start with the thinnest strip in a back-and-forth motion, stopping when it passes through easily; repeat with a thicker strip to widen the contact to the Smile Summary.
2. Checking spacing
Confirm the amount of enamel removed with the thickness gauge; gauge at every strip to avoid over-stripping; stop at the slightest interproximal resistance.
3. Polish and confirm
Polish worked surfaces until round and smooth; verify dimensions with the gauge; record the date and amount of IPR in the patient’s record.
Tips for success
- Gain consent from the patient.
- Thoroughly assess tooth morphology and enamel thickness.
- Assess for any contraindications.
- Understand the Smile Summary.
- Draft a plan of action, mentally and physically.
- Prepare the appropriate materials beforehand; use the method you’re most comfortable with.
- Protect the soft tissue around the tooth.
- Always review the exact amount of IPR required in the Smile Summary.
- Avoid creating ledges near the cervical regions.
- Check that reduction is in the correct contact area, as the tooth may be rotated during the plan.
- As teeth are often triangular, IPR is usually only needed at the contact points.
- Stripped areas should be parallel.
- Fluoridate the stripped area following polishing.
FAQs
Should I do all the IPR requested at once?
If 0.2 mm or less, it can be done at once; if it exceeds 0.2 mm, do it gradually along with the treatment plan for patient comfort.
How do I measure how much IPR I’ve performed?
With IPR gauges (metal strips) for control, sterilisable by steam/dry-heat autoclave or chemical cold sterile.
When should I start the IPR?
It’s built into the treatment plan, often prior to delivering aligner 1, but can be indicated later, so check the treatment summary for the stage.
Where is IPR performed?
Only in the mesial or distal contact area.
Do I need to perform all the IPR suggested on the Smile Summary?
When IPR is more than the target, stop ~0.01 mm prior to the total, then check the contacts at each appointment and finish the remainder only if needed.
Conclusion
IPR is an effective and safe procedure. Take all precautions to prevent damage to the tooth and soft tissue, assess the patient’s tooth morphology, and communicate with the patient to track progress.
Back to the doctor hub
Return to the full Doctor Resources hub for downloads, clinical guides and provider support.